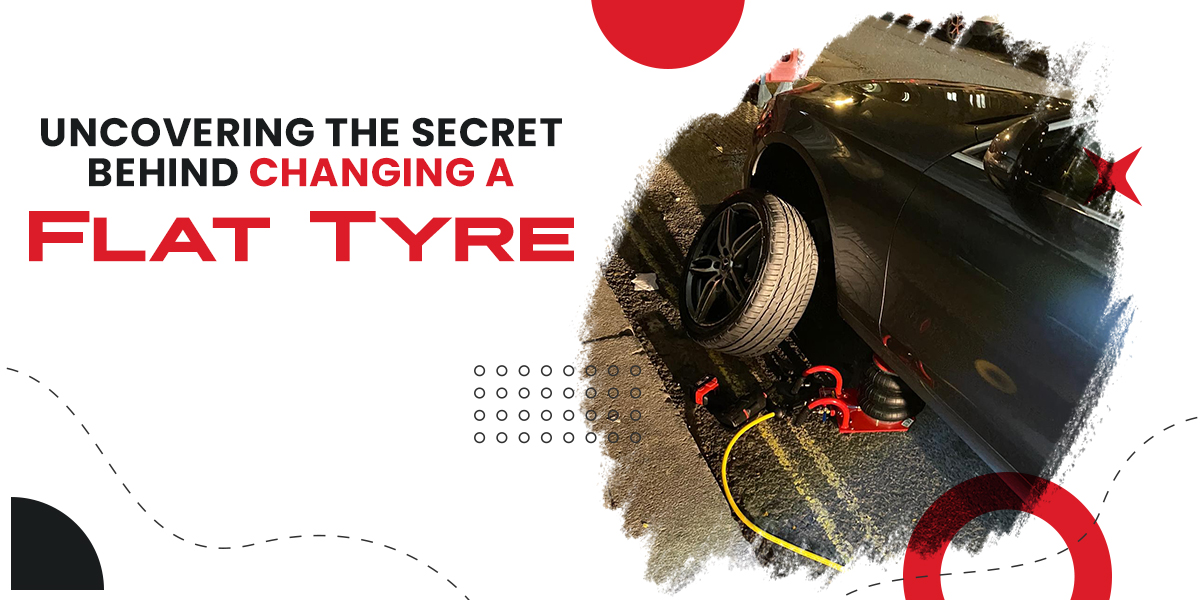
You may become stranded on the side of the road by an unanticipated flat tyre. But don’t be alarmed! You can easily get back on track with a spare tyre and some helpful information. This blog provides helpful advice to make mounting a spare tyre on your car an informative and enjoyable experience. We even made sure to make it extremely descriptive for you! Additionally, if you’re in London, Mobile Tyre Fitting is available to help you whenever you need it.
-
Turn your hazards on and stop:
When you have a flat tyre, locate a safe spot away from traffic to safeguard your safety. Put on your hazard lights and pull into a safe location, ideally one that’s flat. Don’t forget to apply the parking brake to stop the car from moving. If necessary, travel slowly to a safe location, such as a public parking lot, the highway shoulder, or a large area free of foot traffic.
-To be extra safe, surround the tyres you’re not changing with heavy objects to stop the car from moving.
-
Remove the jack and grab a spare tyre:
Find the trunk cover where your spare tyre is often kept in order to access it. The location of the spare tyre may vary slightly depending on the automobile model, but it is normally concealed in the bottom of the trunk by a fabric or plastic cover. The jack and lug wrench, which are frequently located close to the spare tyre, should be retrieved along with the spare tyre. To raise or lower the tyre and remove the lug nuts, the tyre iron is frequently included in the jack. Be aware that the spare tyre may occasionally be mounted outside or placed underneath the car, like with Jeeps or large SUVs.
– Some automobiles provide sealant kits for interim flat tyre repairs if you have no access to a spare tyre.
-If neither choice is feasible, same-day Mobile Tyre Fitting London advises calling a tow truck.
-
Analyse the problem with your car:
Move around your car and look for any broken wheels or components. This blog concentrates on changing damaged tyres; however, if you encounter any problems that you are unable to properly address on your own because of insufficient knowledge, equipment, spare parts, or the extent of the damage, call roadside assistance.
-
Raise your car using a jack:
Find a sturdy spot on the frame and set the jack in a secure position to raise the relevant piece of your car.
-We advise you to lift the car 1-2 inches so that the tyre is no longer in contact with the ground.
-Make sure to pick a frame section where no automotive parts will be harmed.
By pressing down or slowly turning the handle, elevate the car using the floor jack. Get your jack stands out once the tyre has been raised 3-6 inches, for further security. For information on where to position them, consult the owner’s manual. Align the lever with the indicated location, which is typically marked with an arrow on the automobile, to engage the jack stands.Elevate the stands a few inches away from the target area, which is normally the car’s frame.
-Allow the automobile to rest safely on the jack stands by SLOWLY releasing the floor jack’s pressure.
-
Unbolt the lug nuts:
Partially loosen the nuts and take off the hubcap. Avoid damaging the unscathed bolts or lug nuts by starting with the lowest bolt first. Using the flat end of your tyre iron or a flathead screwdriver, pry the hubcap off. Don’t completely remove the lug nuts. Simply spin the nuts anticlockwise until there is no longer any resistance, then loosen them using the tyre iron’s tip. The nuts should spin easily in your hand, but they shouldn’t be excessively loose.
-You may ensure that you are turning the nuts rather than the wheel when you first loosen the nuts by keeping the wheel on the ground.
-Each end of your tyre iron can have an opening with a different size. It will be simple to attach the proper end of the nut to it, but it won’t be too loose that it rattles.
Don’t worry about that portion if your car doesn’t have a hub cap. If so, there might be a centre cap on your hub cap that needs to be removed first.
-As a theft protection measure, certain contemporary cars require a special “key” to open one of the lug nuts. Find a special tool to remove that particular lug nut by searching your glove box and trunk. There will be a special groove inside of these lug nuts. To remove the locking lug nut, use the key.
-Keep all of the bolts since you’ll need them to attach your car’s spare tyre to it.
-
Under the frame, slide the jack in:
Put the jack’s divot exactly beneath the frame’s aluminium rim. Use your phone’s torch to get down on the ground and get a better look. To feel and look for a thin, metal length, touch the region just behind the metal body of your outside. That’s the frame you need! Place the jack directly next to the tyre you’re changing underneath the frame.
-
Elevate the car from the ground:
Lift your tyre four to six inches (10-15 cm) off the ground with the jack. To start lifting the platform, turn the jack’s handle in a clockwise direction. Check to make sure the jack is on your frame at the place where it meets the frame, once the base on the jack makes a connection with the vehicle. If it isn’t, adjust the jack’s position by loosening it. If it is, keep raising your car off the ground.
-The first time you try this, it could feel a little strange. You could fear that your jack will fail or that your car will tip over. Not to worry! Your car and jack are built to handle this.
-Feel free to take pauses if necessary; getting that vehicle up can take just a few moments and a lot of effort.
-
Removing the Tyre and Lug Nuts:
Pull the tyre off by manually tightening the lug nuts. If necessary, brace the tyre with your non-dominant hand while using the tyre iron. Slide the damaged wheel off the axle and place it aside after all the lug nuts have been taken off. Use the hubcap that has been turned upside down as a little bowl to hold the lug nuts to keep them from falling out.
-When dealing with tyres, always put good body mechanics first. To avoid putting tension on your back, squat while maintaining a straight back.
-For safety reasons, never put your legs under an elevated vehicle.
-If a small mechanics chair is available, think about using it to add more back support.
-
Installation of spare on the car:
The spare tyre should be positioned with the valve stem facing outward. Slide the spare tyre onto the axle, raising it slightly, then bringing it into position. Align the lug nut bolts with the holes on the spare tyre. Keep in mind that the tyre is backward if the valve stem is facing the body of the car. Fun fact: The spare tyre is occasionally referred to as a ‘doughnut’. Line the holes on the tyre rim with the tyre mount by using one of the bolts from the old tyre that was removed. Place the tyre on the mount, then fasten the bolt into the topmost socket while making sure the tyre is securely fastened but not too tightly.
-To make sure the tyre fits flush and evenly, press it up against the hub.
For stability, keep your foot firmly planted on the tyre. Make sure the hubcap is firmly in place before trying to screw the lug nuts back on. Start with one and thread it all downwards, down to hold the tyre on the hub.
-
Change and hand-tighten the lug nuts:
Do not tighten the nuts with the tyre iron right away. As an alternative, to partially secure the tyre, slide each lug nut onto the bolt and hand-tighten them. Keep in mind that you’ll tighten the lug nuts once the car is lowered and there’s no chance of it falling.
-It’s important to remember that you don’t need special wheel nuts for the spare tyre; you can use the same ones that were on your wheel originally.
11. Bring your car down:
The jack’s handle or bolt can be turned anticlockwise to gradually lower your car. Make sure your body stays out from under the car while doing this. Once the tyre is securely back on the ground, lower the car. After installing the tyre, carefully take out the jack and put it back in the trunk.
-Keep in mind to put your safety first and keep your body away from the car in case the jack slips and it causes the car to drop to the ground.
-
Hand-tighten the lug nuts carefully:
Once the nuts can no longer turn, completely tighten them.
-Tighten each nut 3–4 times with the tyre iron before tackling the lug nut on the other side.
-
Take off the jacks:
Remove all of the car’s jacks. Lift the car with the floor jacks to start, then take the jack stands off. Remove the jack stands from beneath the car. Remove the old wheel and tyre combination. Turn the lever slowly to the left to release the floor jack’s pressure, allowing the car to descend to the ground. Remove the floor jack as soon as the car is completely on the ground. Lastly, take the wheel chocks off.
-
Immediately fix your tyre:
Limit your travel distance to 50 miles (80 km) and keep your speed to less than 50 miles per hour (80 km/h). Drive as you would typically in order to get full-size spare tyres. Never forget to check the tyre pressure and if necessary, re-inflate the spare, particularly if it has been sitting around for a while. Visit an auto shop as soon as possible. Give a call to 24-hour Tyres London for them to advise you of the next best step!! Repairing minor punctures typically costs between £15 and £100. You might have to buy a replacement tyre if the tyre cannot be fixed.